Regardless of whether you use tubed or tubeless tyres, your primary method of fixing an unexpected flat mountain bike tyre will be by using tubes. If your rimless tyre gets a flat, it will likely be near impossible to fix while you’re out riding your bike so it’s always good to carry inner tubes as they work with both tyre types. At a minimum, you’ll need these tools to repair it: tyre levers, patch kit, pump, a backup tube of the correct size.
First check to see if the bead has come off of the rim or if the bead has worn through to the tube, perhaps by rubbing on the brake shoe. Sometimes the bead can stretch and come off in which case you need a new tyre. Also, if a tubed mountain bike sits for a while the tyres often just go flat and need to be pumped up again. Check the valve stem to make sure that it is tight (use a valve stem tool if you have Schrader or Presta stems) and that the air is not leaking there.
Here’s the basic procedure to fix a mountain bike tyre:
- Remove the tyre from the bike after turning the bike on its back. Loosen both axle nuts or the quick release lever and disengage the brake cable so that the tyre will pull off between the brake pads. For the back wheel, shift the chain onto the smallest sprocket, grab the derailleur body and pull it toward the rear of the bike, and wrestle the wheel free.
- Remove the tyre from the rim using your tyre lever. Use the bevelled end and work it about a half-inch underneath the bead starting at a point on the wheel opposite the valve stem. Use leverage to pull the tyre from the bead and lock the other end of the lever on a spoke. Take a second tyre lever and work it about an inch from the first and push it to push off the bead, or lock it on a spoke and use a third lever. In this fashion you can work off one side of the bead and remove the tube.
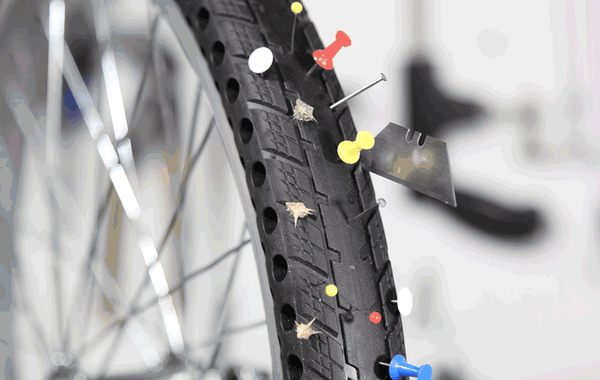
- It is important to now check the inside of the tyre for thorns, glass, metal sharp fragments, etc. When you’re sure it is clean, move on to the tube. Pump it up a little and listen carefully for an air leak, or submerge it in water and look for air bubbles. The hole (or holes!) can be verified by a little saliva which will froth if placed over the hole.
- Rough up the area of the tube a little with the sandpaper in the patch kit where the hole is. Apply a pre-glued patch or apply enough glue to cover the size of the patch. Wait five minutes for the glue to dry and then apply the patch firmly to the tube. If the hole is on a seam or ridge in the tube, the patch may not hold as well. You may need a new tube. Wait a few minutes for it to bond. Then pump up the tube slightly.
- Place the tube back in the tyre starting at the area of the valve stem. Centre it carefully or you will risk damaging the stem and ruining the tube. Work the tube all the way into the tyre and then begin to work the bead back onto the rim. You can do most of this by hand and complete the job using the tyre levers but be careful to not pinch the tube in the process. You’ll no doubt have to struggle a little to get the last bit of bead onto the rim.
- Inflate the tyre slightly and then work the bead with your hands to make sure it is even and looks correct.
- Now PUMP IT UP BABY! Some pumps require a great deal of energy to get a decent air pressure. You may need an adapter if you have the Presta system to engage it with the pump. The adapter is usually placed on the stem after the stem valve is loosened.
- Replace the tyre onto the mountain bike and check the brake cables and alignment of the tyre on the dropouts – retighten everything.
- Check your repair out by riding. It should be fine or at least good enough to get you home but will sometimes still lose air again after a few hours or days. If this happens then you have either pinched a hole in the tube, the patch may have failed, the valve is still loose, you could have had more than one hole or the annoying item that caused the flat may still be in the tyre!